Hi everyone
We all know PayPal is mostly using for transaction in recent days. The following is explain you how to add PayPal payment from your android application
Ready to get started with a simple payment? These steps will walk you through integrating the PayPal library and submitting it to x.com
Step 1 – Set up your sandbox accounts if you haven't already. You can create sandbox accounts by going to developer.paypal.com.
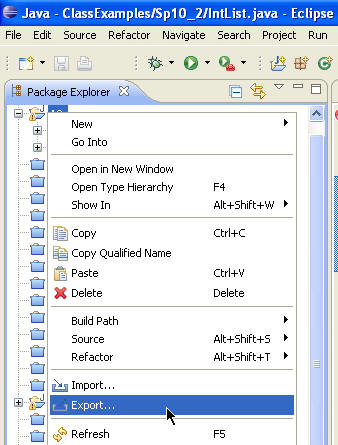
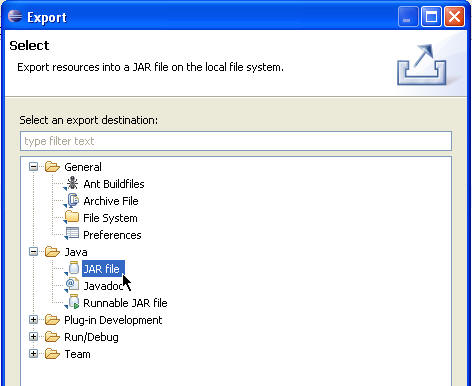
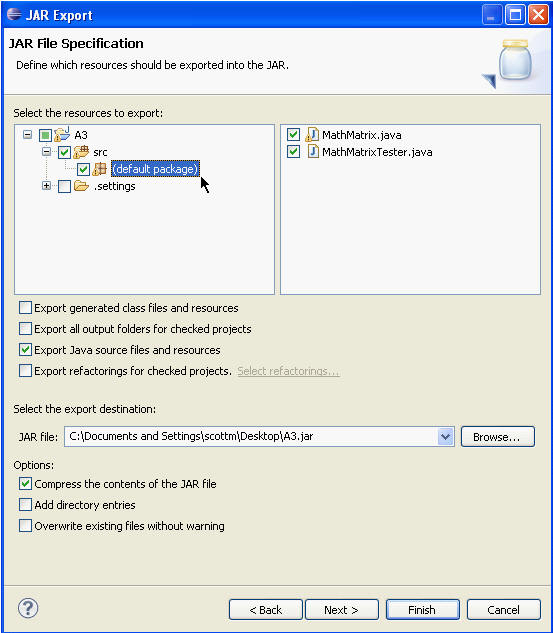
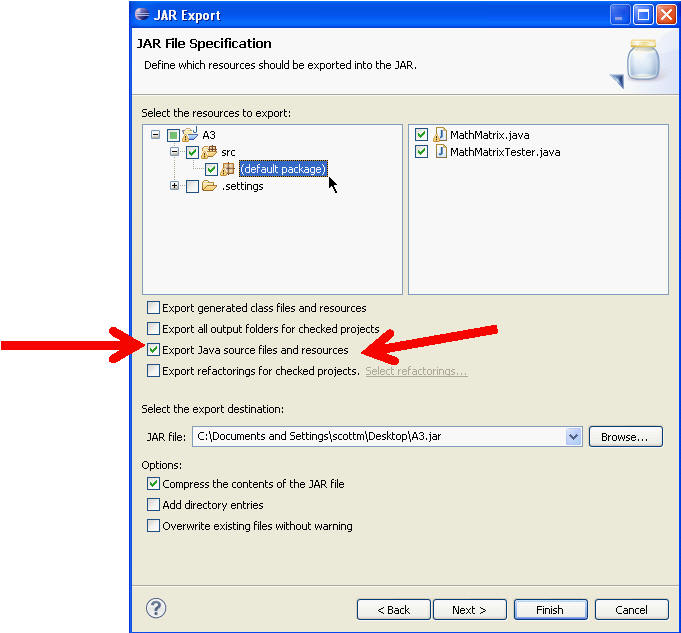
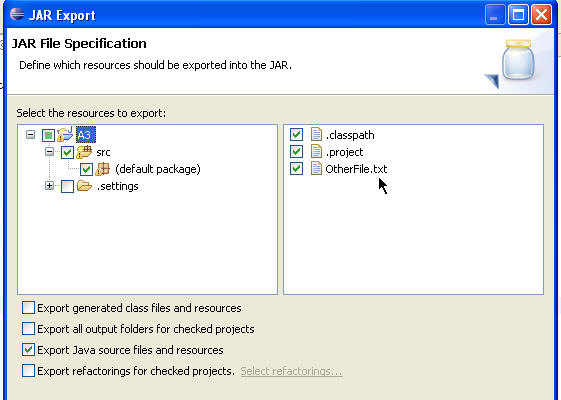
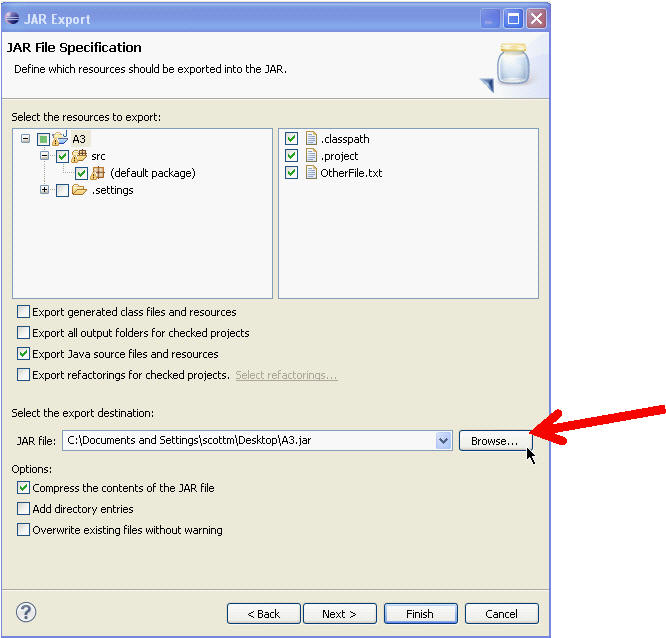
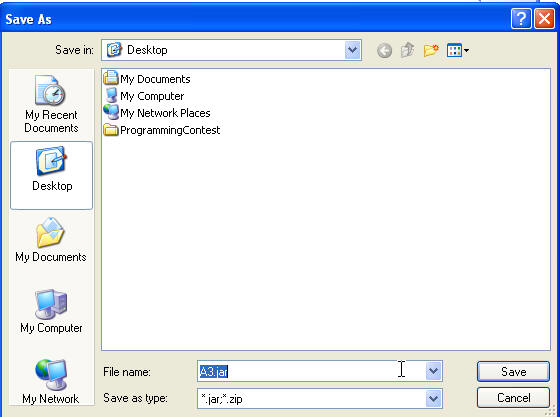
Step 2 – Add the PayPal library (a .jar file) into your Eclipse project, and then add the jar file to the build path. You can right click on the jar file to do this.
Step 3 – Update the AndroidManifest. The manifest will need to include the new activity "com.paypal.android.MEP.PayPalActivity". It will also need to declare the two permissions for Internet and Read-Phone-State.
Step 4 – Import the classes. Open the java file where you are adding the PayPal functionality. You will need to declare the various PayPal classes to use in your project.
Import com.paypal.android.CheckoutButton
Step 5 – Initialize the library by using the initWithAppId method. You'll pass in your App ID and the environment. The environment can either point to Live, Sandbox, or None. The "None" environment puts the library in a demo mode which makes no server calls so that you can continue coding even if you don't have a connection. You can also set the language here.
Step 6 – Place a PayPal button on the screen. You can choose from several different button sizes in the integration guide. You'll also pass the type of payment (hard goods, service, donation, personal payment). Then set the onClick listener for the button.
Step 7 – Implement the onClick function. This is where the actual checkout call happens. You'll specify all of the payment parameters (amount, currency, tax, shipping, recipient's email). You can also use some optional methods to recalculate the amount based on an address. You'll then create a new intent based on the PayPalActivity class and add the payment you just created.
Step 8 – Handle the response. You will receive the results through the onActivityResult method. It will either return OK, Cancelled, or Failure based on how the payment ended. When you receive these calls, you can continue in your app by thanking the buyer or asking them to try later.
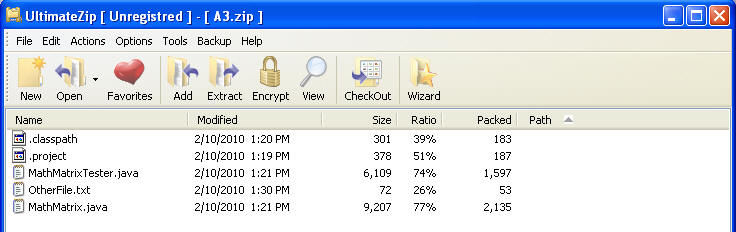
Step 9 – Complete your project. Once you've finished your application, you can submit it to x.com (under the "My Apps" tab). In order for us to test it, you will need to attach a .zip file containing your .apk. PayPal will review the app in 1 business day (for apps using simple payments) and send you a valid App ID for the live environment. You"ll just need to update init method to point to Live with this new ID. (Don't forget to update the recipient to your live email address).
To read more click Here
We all know PayPal is mostly using for transaction in recent days. The following is explain you how to add PayPal payment from your android application
Ready to get started with a simple payment? These steps will walk you through integrating the PayPal library and submitting it to x.com
Step 1 – Set up your sandbox accounts if you haven't already. You can create sandbox accounts by going to developer.paypal.com.
Step 2 – Add the PayPal library (a .jar file) into your Eclipse project, and then add the jar file to the build path. You can right click on the jar file to do this.
Step 3 – Update the AndroidManifest. The manifest will need to include the new activity "com.paypal.android.MEP.PayPalActivity". It will also need to declare the two permissions for Internet and Read-Phone-State.
| Code: |
|
Step 4 – Import the classes. Open the java file where you are adding the PayPal functionality. You will need to declare the various PayPal classes to use in your project.
Import com.paypal.android.CheckoutButton
| Code: |
|
Step 5 – Initialize the library by using the initWithAppId method. You'll pass in your App ID and the environment. The environment can either point to Live, Sandbox, or None. The "None" environment puts the library in a demo mode which makes no server calls so that you can continue coding even if you don't have a connection. You can also set the language here.
| Code: |
PayPal pp = PayPal.initWithAppID(this, "APP-80W284485P519543T", PayPal.ENV_SANDBOX); |
Step 6 – Place a PayPal button on the screen. You can choose from several different button sizes in the integration guide. You'll also pass the type of payment (hard goods, service, donation, personal payment). Then set the onClick listener for the button.
| Code: |
|
Step 7 – Implement the onClick function. This is where the actual checkout call happens. You'll specify all of the payment parameters (amount, currency, tax, shipping, recipient's email). You can also use some optional methods to recalculate the amount based on an address. You'll then create a new intent based on the PayPalActivity class and add the payment you just created.
| Code: |
|
Step 8 – Handle the response. You will receive the results through the onActivityResult method. It will either return OK, Cancelled, or Failure based on how the payment ended. When you receive these calls, you can continue in your app by thanking the buyer or asking them to try later.
| Code: |
|
Step 9 – Complete your project. Once you've finished your application, you can submit it to x.com (under the "My Apps" tab). In order for us to test it, you will need to attach a .zip file containing your .apk. PayPal will review the app in 1 business day (for apps using simple payments) and send you a valid App ID for the live environment. You"ll just need to update init method to point to Live with this new ID. (Don't forget to update the recipient to your live email address).
To read more click Here